
- 0133技术站
- 联系QQ:18840023
- QQ交流群

- 微信公众号


 云罗郡主
更新时间:2019-01-14 10:27:18
云罗郡主
更新时间:2019-01-14 10:27:18
插件是 webpack 的支柱功能。webpack 自身也是构建于,你在 webpack 配置中用到的相同的插件系统之上!
插件目的在于解决 loader 无法实现的其他事。
webpack 插件是一个具有 apply 属性的 JavaScript 对象。apply 属性会被 webpack compiler 调用,并且 compiler 对象可在整个编译生命周期访问。
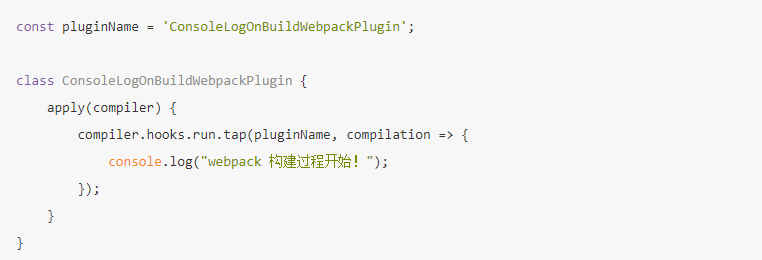
ConsoleLogOnBuildWebpackPlugin.js
const pluginName = 'ConsoleLogOnBuildWebpackPlugin';

class ConsoleLogOnBuildWebpackPlugin {
    apply(compiler) {
        compiler.hooks.run.tap(pluginName, compilation => {
            console.log("webpack 构建过程开始!");
        });
    }
}
compiler hook 的 tap 方法的第一个参数,应该是驼峰式命名的插件名称。建议为此使用一个常量,以便它可以在所有 hook 中复用。
由于插件可以携带参数/选项,你必须在 webpack 配置中,向 plugins 属性传入 new 实例。
根据你的 webpack 用法,这里有多种方式使用插件。
webpack.config.js
const HtmlWebpackPlugin = require('html-webpack-plugin'); //通过 npm 安装
const webpack = require('webpack'); //访问内置的插件
const path = require('path');

const config = {
  entry: './path/to/my/entry/file.js',
  output: {
    filename: 'my-first-webpack.bundle.js',
    path: path.resolve(__dirname, 'dist')
  },
  module: {
    rules: [
      {
        test: /\.(js|jsx)$/,
        use: 'babel-loader'
      }
    ]
  },
  plugins: [
    new webpack.optimize.UglifyJsPlugin(),
    new HtmlWebpackPlugin({template: './src/index.html'})
  ]
};

module.exports = config;?> 即便使用 Node API,用户也应该在配置中传入 plugins 属性。compiler.apply 并不是推荐的使用方式。
some-node-script.js
  const webpack = require('webpack'); //访问 webpack 运行时(runtime)
  const configuration = require('./webpack.config.js');

  let compiler = webpack(configuration);
  compiler.apply(new webpack.ProgressPlugin());

  compiler.run(function(err, stats) {
    // ...
  });
T> 你知道吗:以上看到的示例和 webpack 自身运行时(runtime) 极其类似。wepback 源码中隐藏有大量使用示例,你可以用在自己的配置和脚本中。
推荐手册